WARNING: Please note that this article describes my experience and the results you might get reproducing what I did could be different. Please understand that I am not responsible for the results you might get reproducing what I did. If you choose to follow my notes and something bad happens, don't blame me, you are responsible for what you do. In doubt, my advice is to go and read some news.
Moode is one of my favorite music player for the Raspberry Pi. It supports a lot of devices and the interface is straightforward. Also, it's based on Raspbian, the official operating system for the Raspberry Pi.
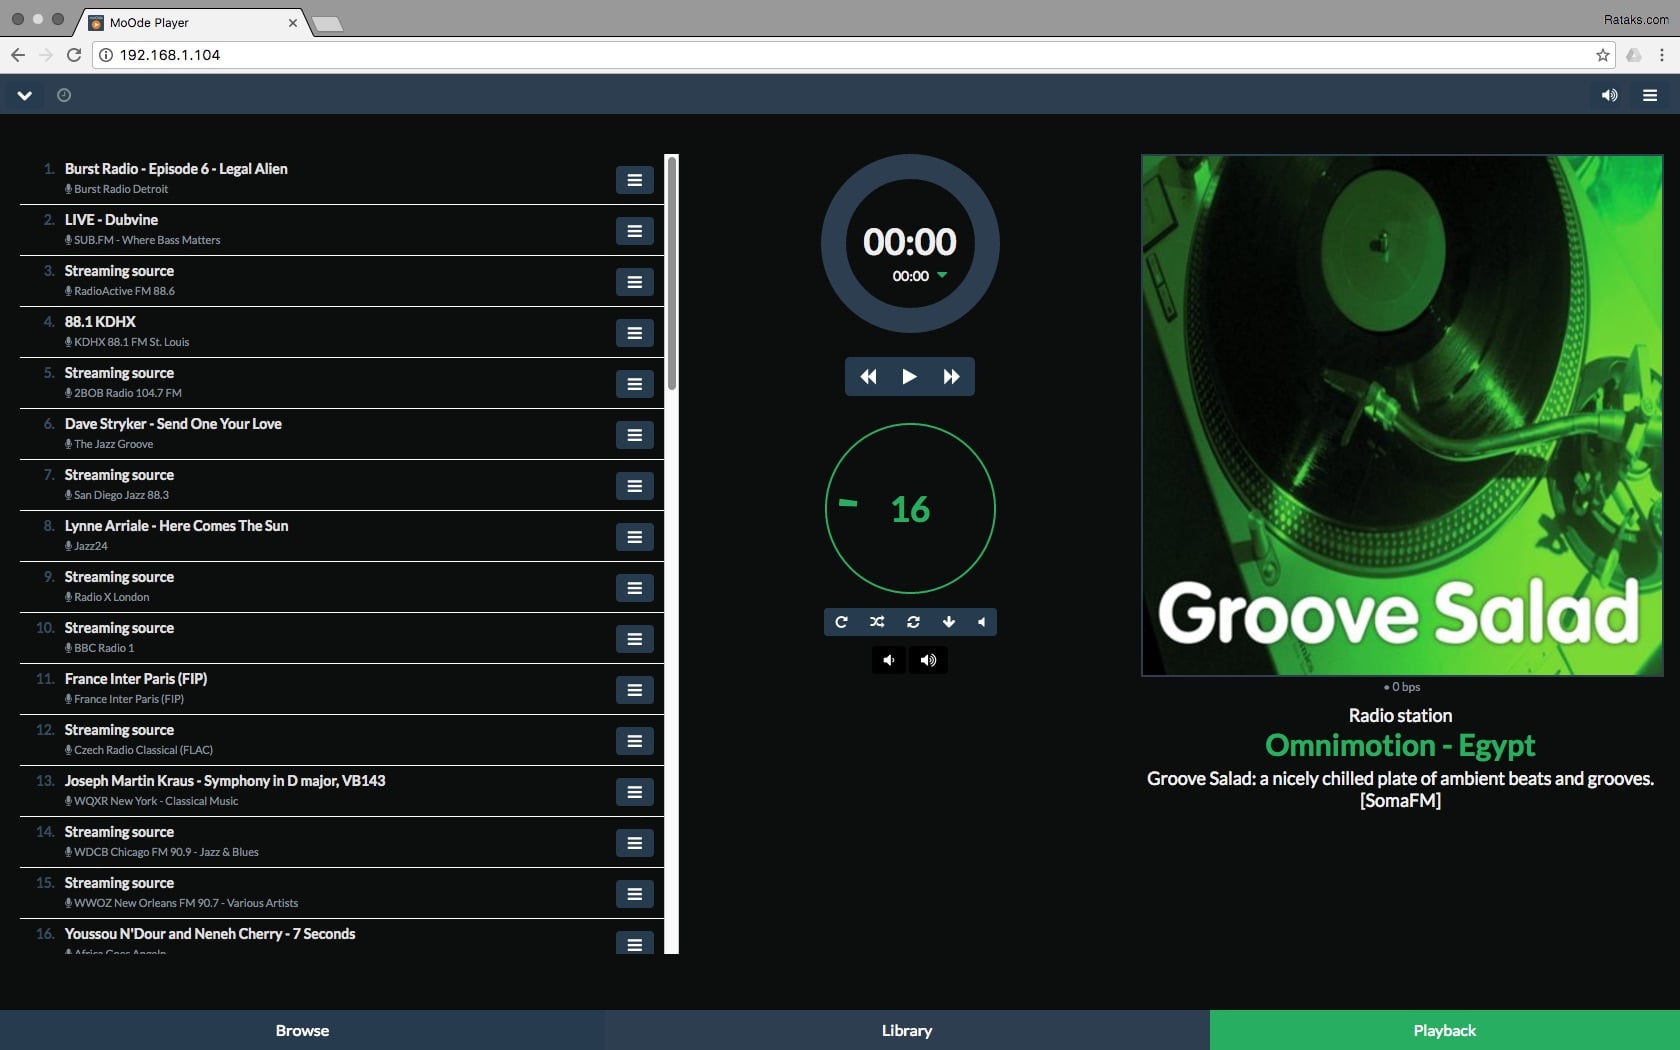
Like many of the best music players, Moode has a web-based interface. You find the IP address of the Raspberry Pi and you open it in a browser. This is what you get:
In this guide we're going to configure it so that we can use the official Raspberry Pi 7" touchscreen, without needing to use a different computer to access the Moode interface. The guide works with Moode version 3.1.
Before doing anything, you need to have:
- The Raspberry Pi and the touchscreen connected
- Moode installed
- Your DAC configured in Moode
Once you've got Moode up-and-running and you're getting the audio out of the DAC, be sure to have expanded the filesystem: in the Configure menu (top right of the Moode interface) click on System, in the Maintenance section check Expand SD Card storage and click on Set. The system will reboot.
At this point we're ready to proceed with the guide.
After having expanded the filesystem and you're able to reconnect to Moode, you must connect to the Raspberry Pi via ssh. In your favorite terminal application run:
ssh pi@192.168.1.104
You must replace 192.168.1.104 with the IP address of your Moode system. When asked for the password, type raspberry and press Enter.
Once you've logged in you can start installing the new software:
sudo apt-get update
apt-get install -y xinit xorg lsb-release xserver-xorg-legacy chromium-browser
When the installation is complete, the line allowed_users=console must be replaced with allowed_users=anybody in the /etc/X11/Xwrapper.config file:
sudo sed -i "s/allowed_users=console/allowed_users=anybody/" /etc/X11/Xwrapper.config
Next you need to create the service script that will start the GUI:
sudo wget https://goo.gl/NEqFRp -O /opt/start-gui
chmod +x /opt/start-gui
Finally, enable auto-start of the GUI:
sudo wget https://goo.gl/bTB4Vv -O /lib/systemd/system/start-gui.service
sudo systemctl enable start-gui.service
sudo systemctl start start-gui.service
You should see a Chromium session on the Raspberry Pi Touchscreen.
This is all it takes to get the Raspberry Pi touchscreen working in Moode. There are a couple of caveats:
- The Moode interface does not fit perfectly in the small screen so some scrolling might be needed
- You won't be able to configure Moode because some of the modals are to high and you won't be able to scroll
But there are some great feature:
- Chromium is a great browser and the touch works really nice
- You will be able to do much of the needed stuff to use Moode
- With the Raspberry Pi 3 the speed of the browser is great
Good listening and don't forget to follow us on Twitter :)